The kitchen is one of the most used spaces in any home, which means it deserves a paint job that not only looks great but also lasts. While choosing the right paint color is exciting, proper preparation is what truly determines whether your kitchen will have a smooth, professional-looking finish. In this guide, we’ll walk through the essential steps to prep your kitchen for a flawless paint job.
Why Proper Prep Matters
Kitchen walls face unique challenges. Grease, steam, food splatters, and constant traffic can make surfaces difficult for paint to adhere to. Without proper preparation, even high-quality paint can peel, bubble, or look uneven. Spending extra time on prep ensures your new paint not only looks fresh but also withstands daily wear and tear.
Step 1: Clear and Protect the Space
Before you begin painting, make sure your kitchen is ready to handle the work.
Remove or Cover Items
- Take down wall décor, shelves, outlet covers, and switch plates.
- Move smaller appliances like toasters, coffee makers, and microwaves out of the way.
Protect Surfaces
- Cover countertops, cabinets, and floors with drop cloths or plastic sheeting.
- Use painter’s tape to protect trim, backsplash edges, and cabinet corners.
Step 2: Clean Thoroughly
Kitchens accumulate more grease and residue than any other room in the house. Cleaning is the most important step before painting.
- Wash walls with warm water and a mild degreasing soap.
- Pay special attention to areas around the stove and sink.
- For stubborn grease, use a mixture of vinegar and water or a gentle commercial degreaser.
- Let surfaces dry completely before moving to the next step.
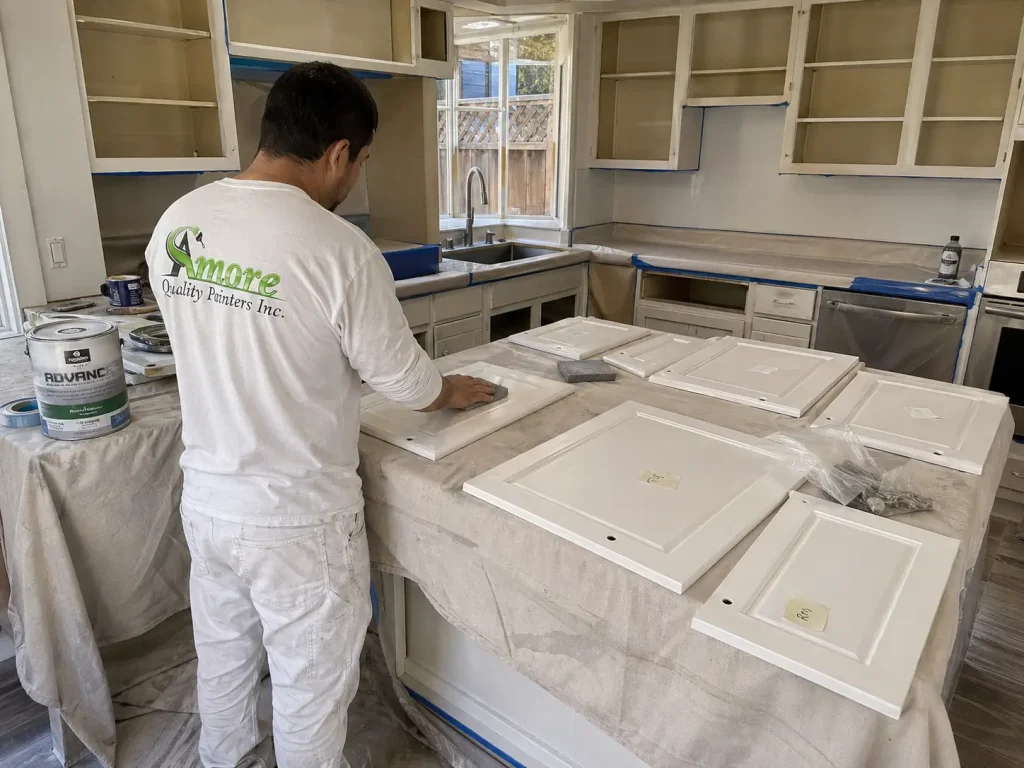
Step 3: Repair and Sand the Walls
A smooth surface is critical for an even paint finish.
- Patch holes with spackling paste or joint compound.
- Fill cracks with caulk, especially around baseboards, windows, and trim.
- Once repairs dry, lightly sand the entire surface with fine-grit sandpaper. This removes imperfections and helps the paint bond better.
- Wipe away sanding dust with a damp cloth.
Step 4: Prime the Surfaces
Primer is especially important in kitchens because it blocks stains and creates a uniform surface.
- Use a stain-blocking primer to cover areas affected by grease or water spots.
- Apply a coat of primer to patched areas for an even finish.
- For darker walls, consider priming the entire kitchen to avoid color bleed-through.
Step 5: Choose the Right Paint
Not all paints are suited for kitchens. You need a durable, washable finish that can handle frequent cleaning.
- Best sheens for kitchens: Satin, semi-gloss, or high-gloss.
- Avoid flat or matte finishes as they are difficult to clean.
- Look for paints with moisture and mildew resistance for long-lasting results.
Step 6: Create Proper Ventilation
Kitchens are smaller spaces, and painting can introduce fumes. Ensure the area is well-ventilated:
- Open windows and doors to allow airflow.
- Use fans to circulate air and speed up drying.
- Consider low-VOC or zero-VOC paints for a healthier indoor environment.
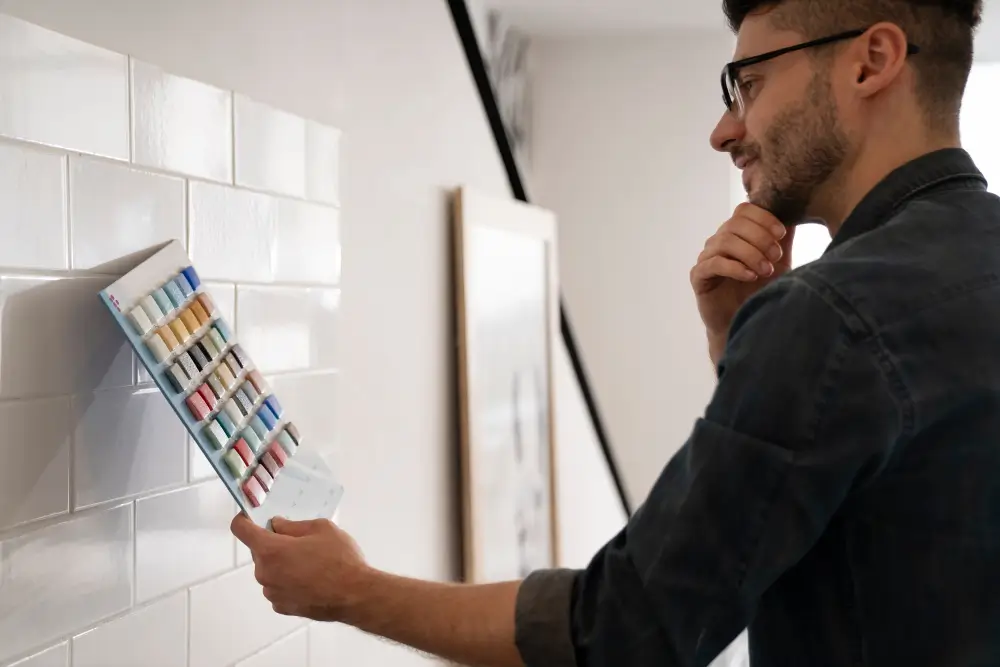
Step 7: Test Your Color
Lighting in kitchens can change dramatically between natural light and artificial light.
- Paint a small sample patch on your wall and observe it throughout the day.
- Test near cabinets and backsplash to see how the color complements existing finishes.
Final Check Before Painting
- Ensure all surfaces are clean, dry, and primed.
- Tape edges neatly and double-check protective coverings.
- Set up all your painting tools: rollers, brushes, trays, and step ladders.
Once everything is in place, you’re ready to apply the first coat.
The Bottom Line
Prepping your kitchen properly may take time, but it makes all the difference in the final result. A clean, repaired, and primed surface will ensure that your new paint looks fresh, lasts longer, and enhances the heart of your home. Whether you tackle it as a DIY project or bring in a professional, preparation is the key to a flawless paint job.

honestly I’d paint them just to stop looking at that orange oak every morning, but I know myself and I’d probably rush the drying part and mess it up lol
I’d paint mine if the layout wasn’t so annoying. feels pointless to make the cabinets prettier when I still hate where everything is placed
I’m kinda stuck on this right now. the boxes are fine but the doors look so dated that I’m not sure a new color fixes it. might be one of those “cheap now, regret later” things
one quote I got was way cheaper and I got excited for like 5 minutes… then noticed it didn’t include trim or doors. annoying but lesson learned.